- Home
- How to Make Coffee With the AeroPress: Our Step-by-Step Guide

How to Make Coffee With the AeroPress: Our Step-by-Step Guide
Written by Julie
Whether you’re a coffee enthusiast, a frequent traveler, or just someone who appreciates a good cup of pour-over coffee, the AeroPress is the perfect companion. This manual coffee maker, often dubbed the “portable espresso maker,” strikes a perfect balance between quality coffee, quick preparation, and compact storage. Its innovative brewing method delivers exceptional results without compromising flavour. So, grab your favourite coffee beans, and let’s dive in!
When you search for “AeroPress recipes,” you’ll find countless suggestions, each claiming to be the best. However, I won’t make such a claim, and here’s why: coffee is a personal experience, and the best recipe is the one that suits your taste. The beauty of the AeroPress lies in its flexibility. It’s not about following strict rules but rather experimenting with different variables like coffee type, roast level, grind size, brew time, and water temperature to craft your perfect cup.
Feeling overwhelmed? Don’t worry—it’s simpler than you think!
What is an Aeropress Coffee Maker?
Let’s start with a brief introduction to the AeroPress. First released in 2005, the original AeroPress has become a staple in the world of coffee. There are now a few different AeroPress models available including the Clear AeroPress, the AeroPress XL and even a couple of colourful Clear models! You can find them all on MaxiCoffee!
Now, let’s talk components! They all feature a cylindrical design that brews coffee, which is then manually pressed through a specially-designed paper filter. This simple yet effective method produces a rich and flavourful brew, similar in strength to espresso, but without the need for a bulky machine. It’s quicker and more concentrated than a Chemex and takes just 2 to 4 minutes to brew a cup.
Thanks to its compact and lightweight design, it’s the ultimate portable coffee maker for travelers!
A Simple and Effective AeroPress Coffee Recipe
While there are many AeroPress recipes out there, some requiring accessories like a grinder, variable temperature kettle, AeroPress organiser stand, thermometer, scale, or timer, I’ve got a hassle-free method perfect for those who love convenience.
Prep the Filter: Place the paper filter into the filter cap and rinse it with hot water to eliminate any paper taste.
Assemble and Invert: Assemble your AeroPress and turn it upside down, with the open part facing up.
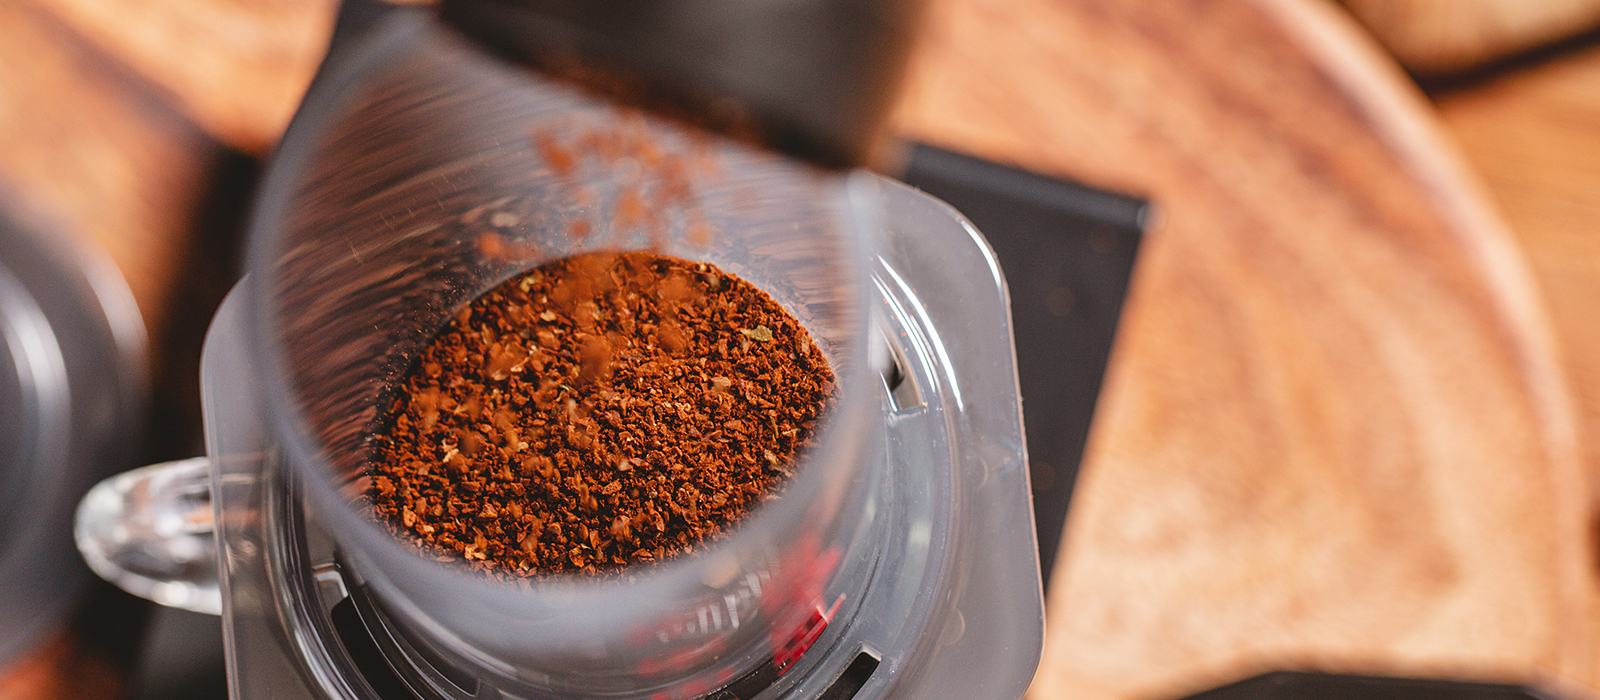
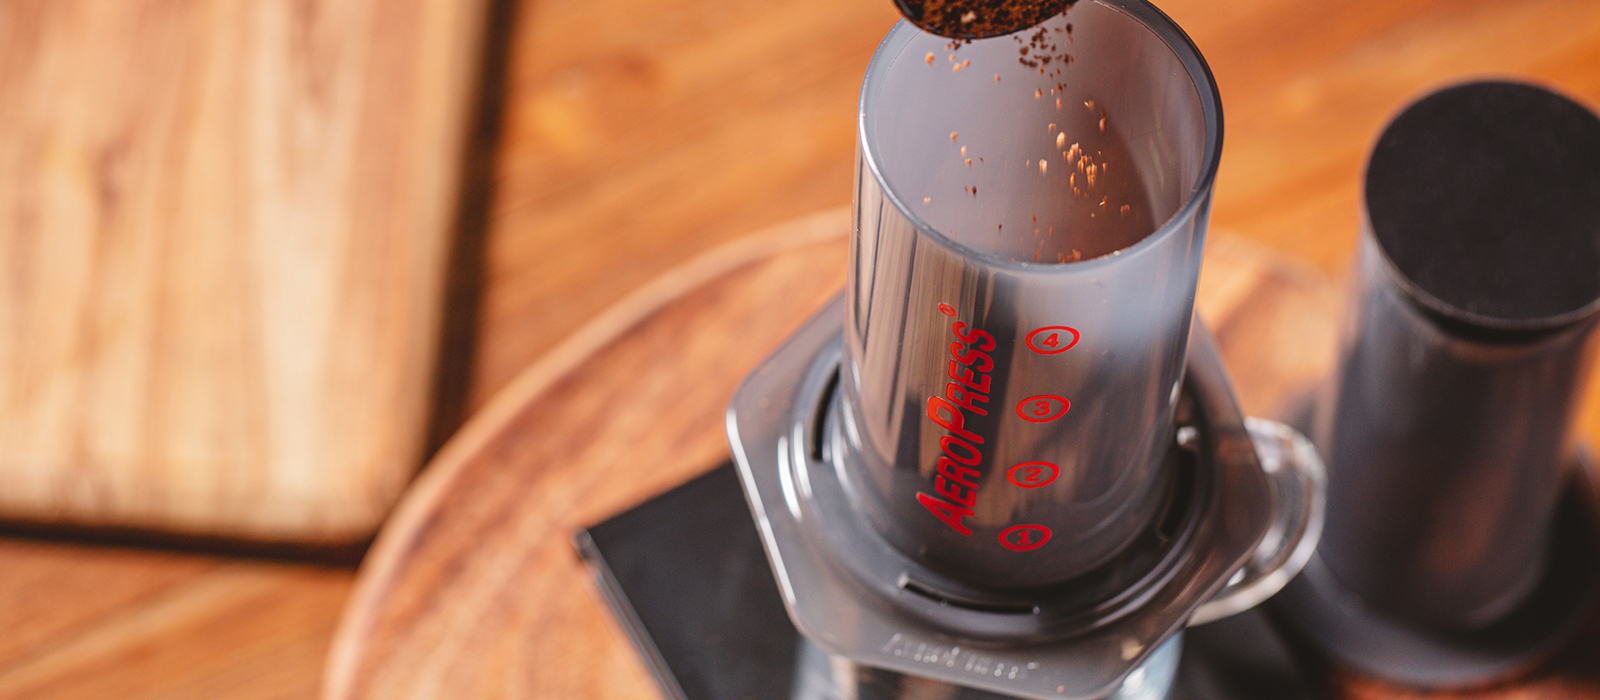
Add Coffee: Add your desired amount of ground coffee. I’d recommend 14-15g on a medium-fine grind.
Bloom: Pour hot water (just below boiling) over the grounds until they’re fully saturated. Let it bloom for about 30 seconds.
Fill with Water: Add more hot water, filling the AeroPress up to the “1” mark.
Brew: Let the coffee steep for 3 minutes, stirring twice during the process.
Attach the Filter Cap: Secure the filter cap with the paper filter.
Press: Invert the AeroPress over your cup and press down gently and steadily. This should take about 40 seconds.
Clean Up: Remove the AeroPress, unscrew the cap, and discard the used grounds.
Enjoy: Rinse the AeroPress, and you’re ready to enjoy your freshly brewed coffee!
A Refreshing Twist for Hot Summer Days
Can’t decide between a hot coffee and a cold beverage on a warm day? Why not have both with an AeroPress iced coffee? Choose a coffee with fruity notes for an extra refreshing twist. Follow the same steps as above, but after the blooming phase, fill the AeroPress with cold water (preferably chilled). Let it steep for 7 to 9 minutes, then press as usual over some ice cubes. The result? A sweet, refreshing, and freshly brewed iced coffee!
That’s all you need to get started with the AeroPress. Now, it’s your turn to experiment and find your perfect brew. Once you’ve nailed it, don’t forget to share your favourite recipe with us!
Discover all of our articles


